Hitched Hacks: How to Preserve and Frame Your Wedding Flowers
Find out how to preserve your wedding flowers so they look beautiful forever - plus our fab idea for framing and displaying them!
We have included third party products to help you navigate and enjoy life’s biggest moments. Purchases made through links on this page may earn us a commission.
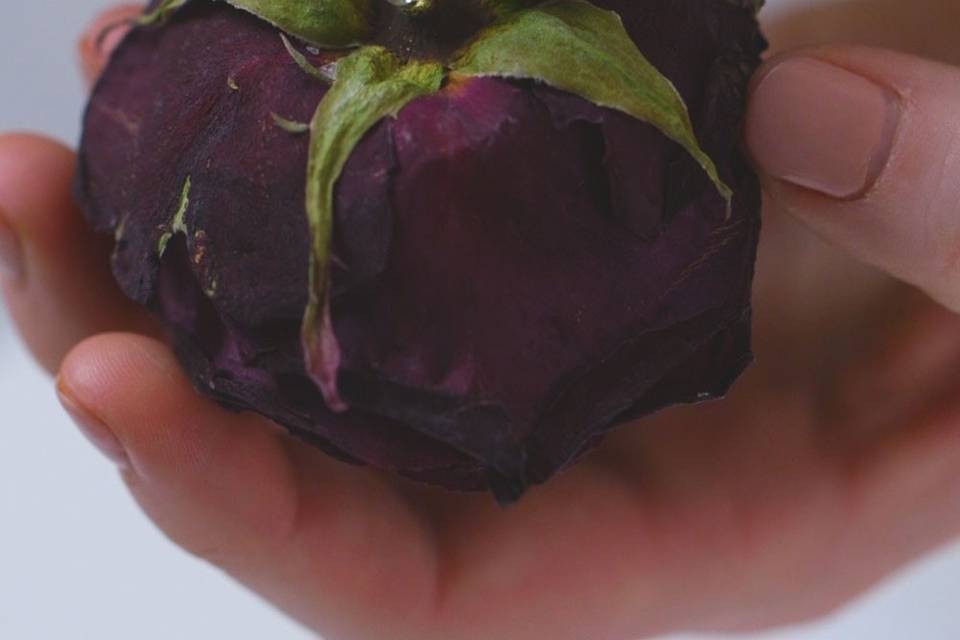

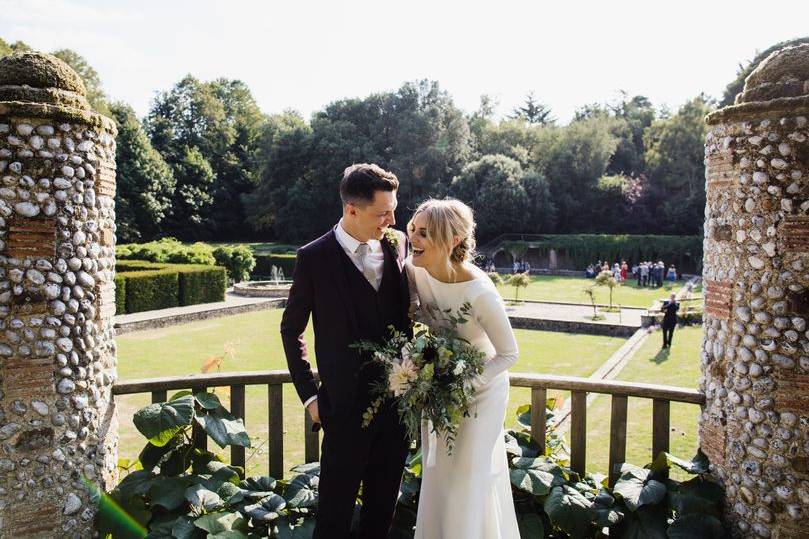
Your wedding flowers are filled with so many memories; it’s a lovely idea to preserve them after your big day and display them forever.
It can be expensive to professionally preserve your wedding bouquet, but it doesn’t need to be. You can preserve your wedding flowers for much less money at home and – although it might seem daunting – it’s actually very easy.
The traditional method for how to preserve flowers requires hanging them upside down for several weeks but this makes them brittle and can ruin the colour. The much better and quicker process is to use silica gel which absorbs the water in the petals.
Make sure you use gel for flower drying which will have indicating crystals that change colour when the gel is saturated and needs to be changed. You can dry out the gel in the microwave or oven and use it again.
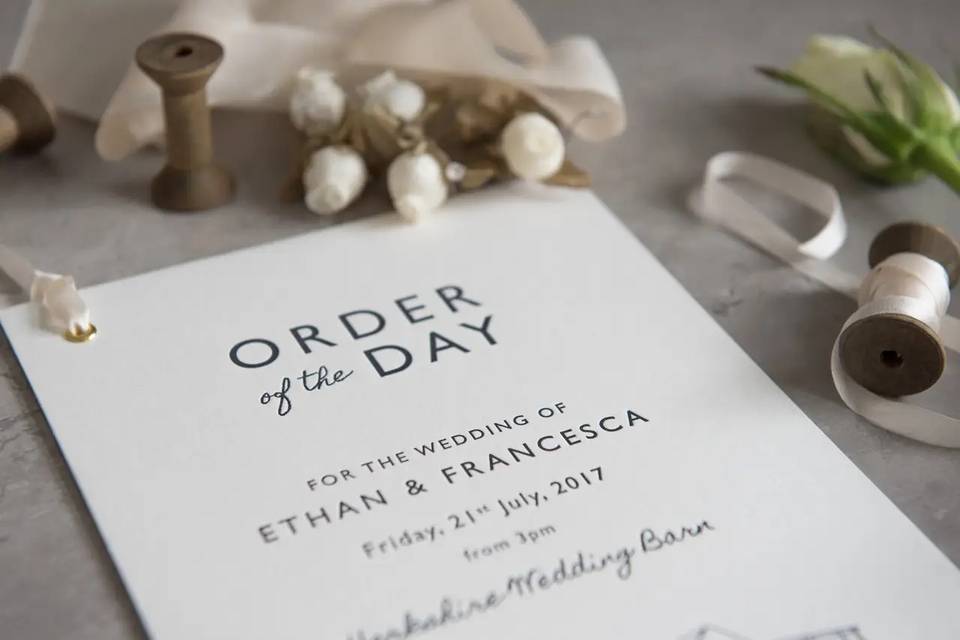
Once you’ve dried your flowers, try our gorgeous idea for displaying them in a frame alongside your order of service.
Here’s our DIY tutorial on how to preserve your wedding bouquet and how to display it.
What You’ll Need
- Bouquet – this needs to be done within 48-72 hours after your wedding for the best results. Keep in the fridge until you are ready to start, but be aware the petals must be dry and free from condensation
- Silica gel (about 3-4lbs – we used this gel)
- Large airtight plastic box
- Glue gun (we used this one)
- Shadow box frame (we used this frame for deep flowers or this frame for smaller ones)
- Backing card
- Scissors
- Order of service, wedding invitation or photograph – optional (we used this)
How to Preserve Your Wedding Flowers
Step One
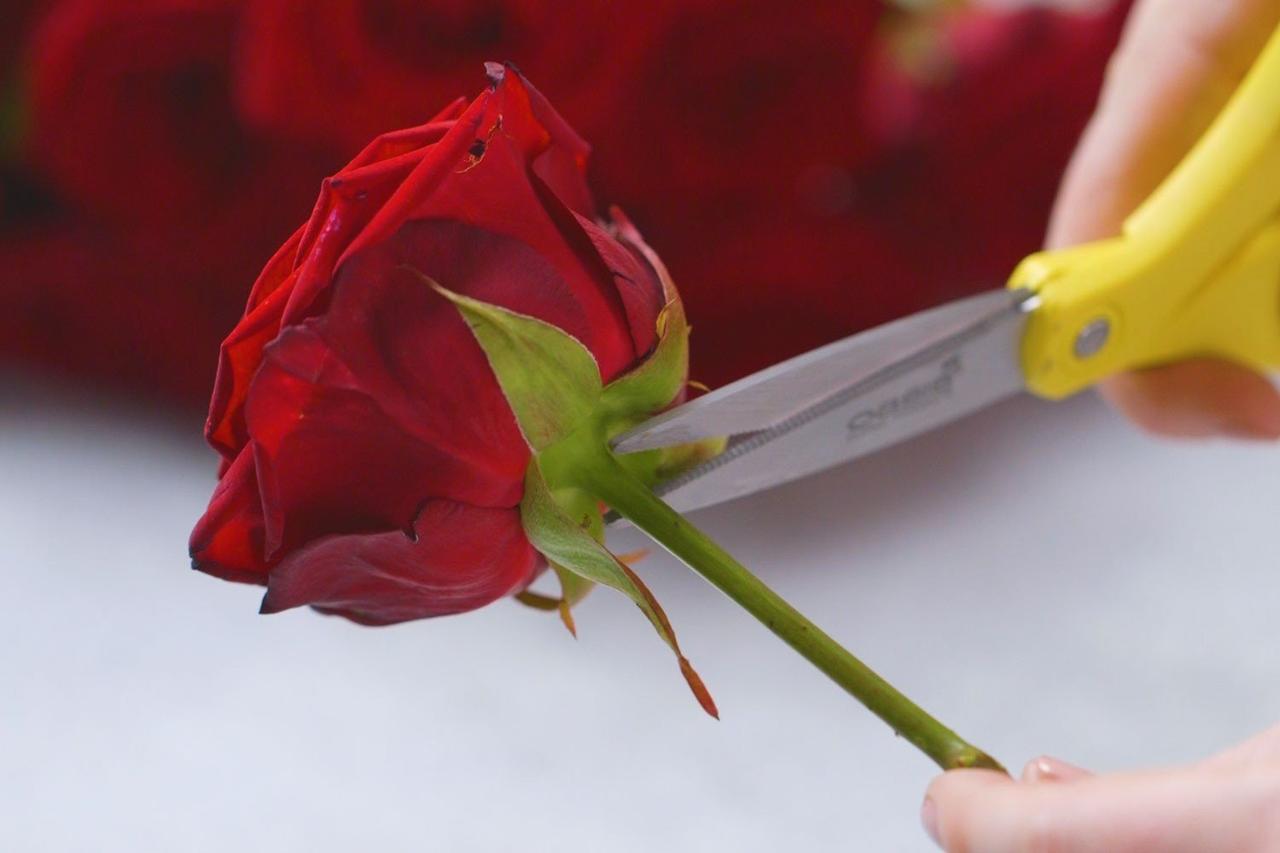
Trim the stems off your flowers, leaving 2-3 cm underneath the head. NB: The length of stem you leave will depend on how you choose to display them. You can always use floristry wire if you need a longer stem.
Step Two
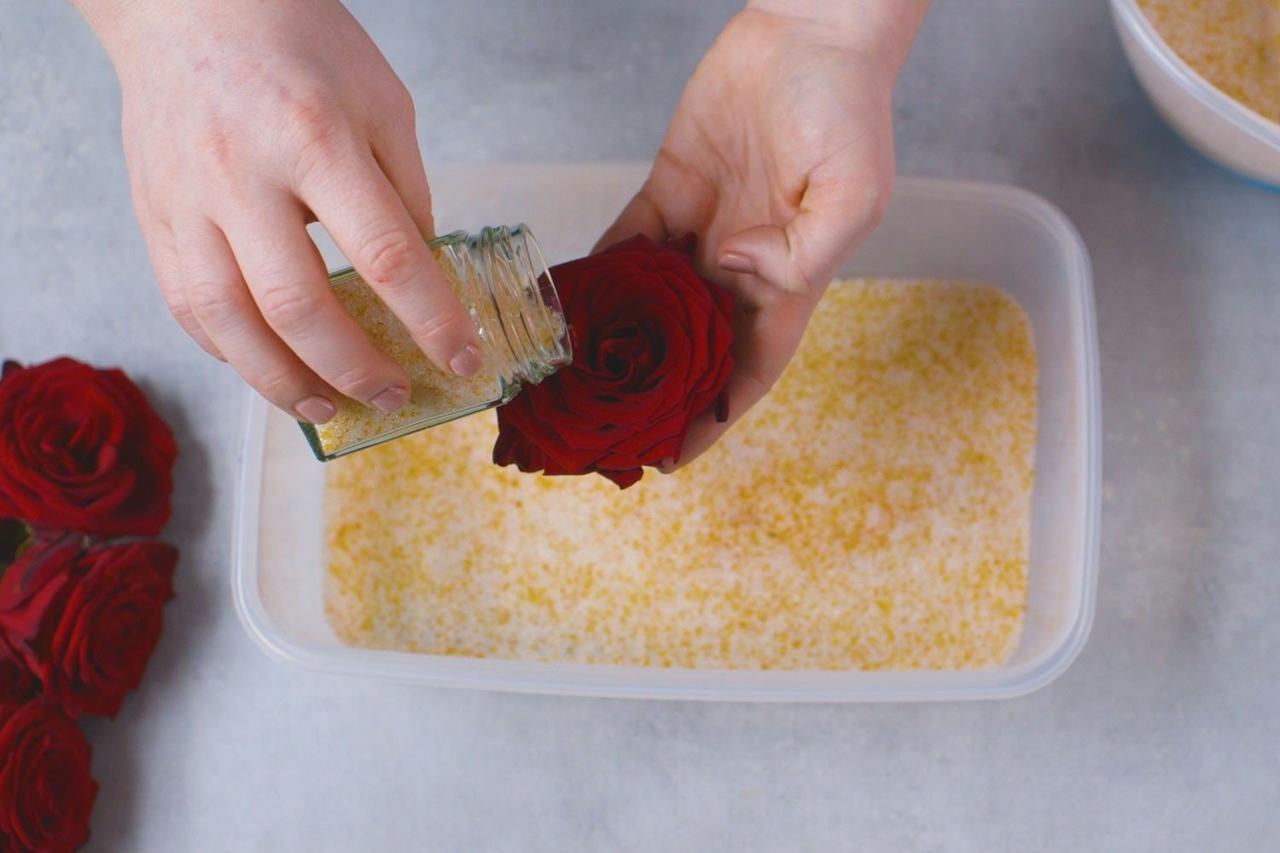
Pour a layer of silica gel in your box, about 5cm deep so the stems will be covered.
Step Three
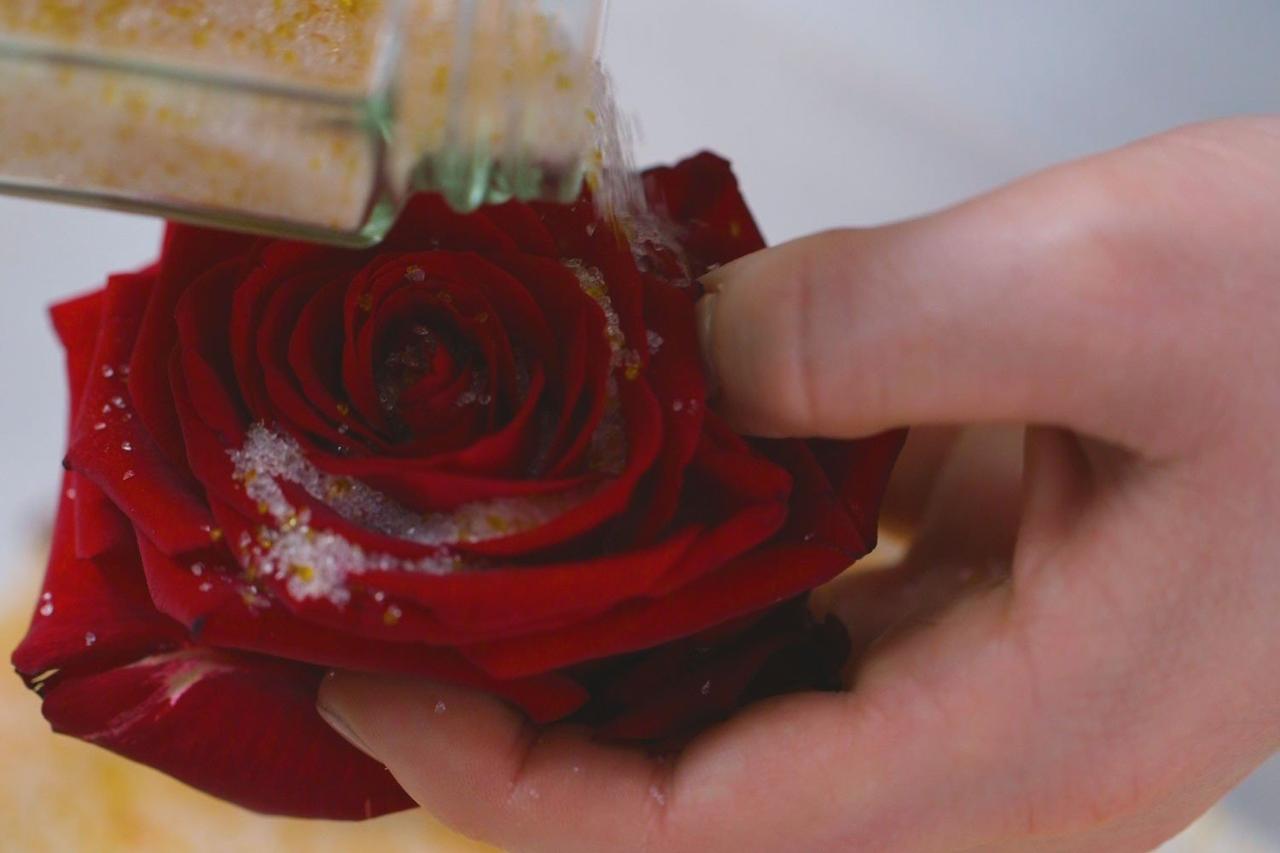
For long flowers or smaller blooms: Lay your flowers in single layer on top of the silica gel. Long flowers, like snapdragons or calla lilies, can be placed in a layer on their side; smaller flowers, facing upwards. Using a cup, gently pour silica gel on top and between the petals. You can put several layers of these flowers on top of each other, with a generous layer of silica between them.
For large flowers like roses or peonies: gently pour silica gel between the petals first to help the flower keep it’s shape. It’s essential the gel goes between each petal but take care not to overfill or damage the shape of the flower. Place upright in your container with plenty of space between them.
Step Four
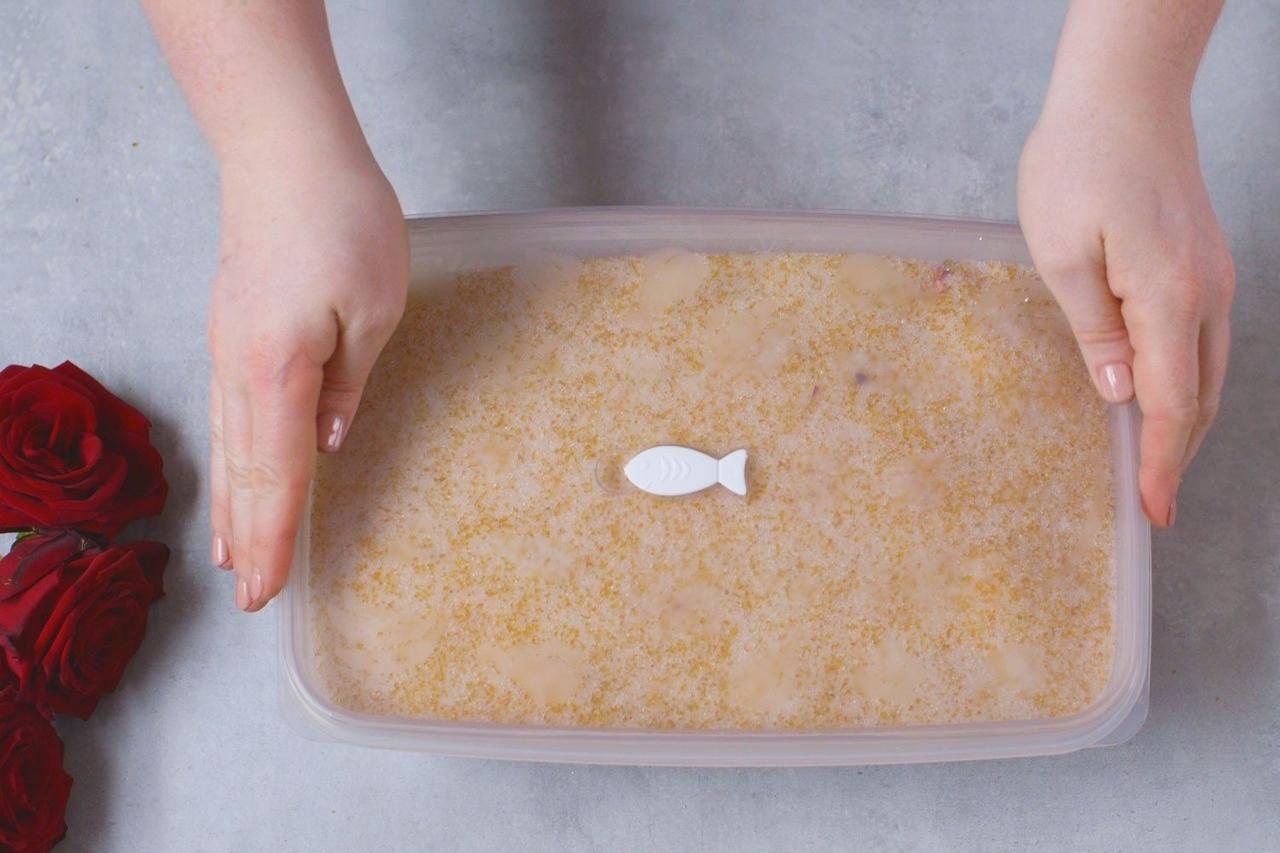
Continue gently pouring the silica gel around the flowers until they are all completely covered.
Close the lid on the container and move to a safe, dry place where the flowers can sit undisturbed.
Tip: The drying process takes usually takes between 2-6 days, depending on the size of your flowers. Check on one of the flowers after a couple of days. When they’re ready, the petals should feel dry but not brittle right down to the centre of the flower. If they don’t feel dry yet and all the indicating crystals have changed colour, you’ll need to remove the gel and recharge it.
Step Five
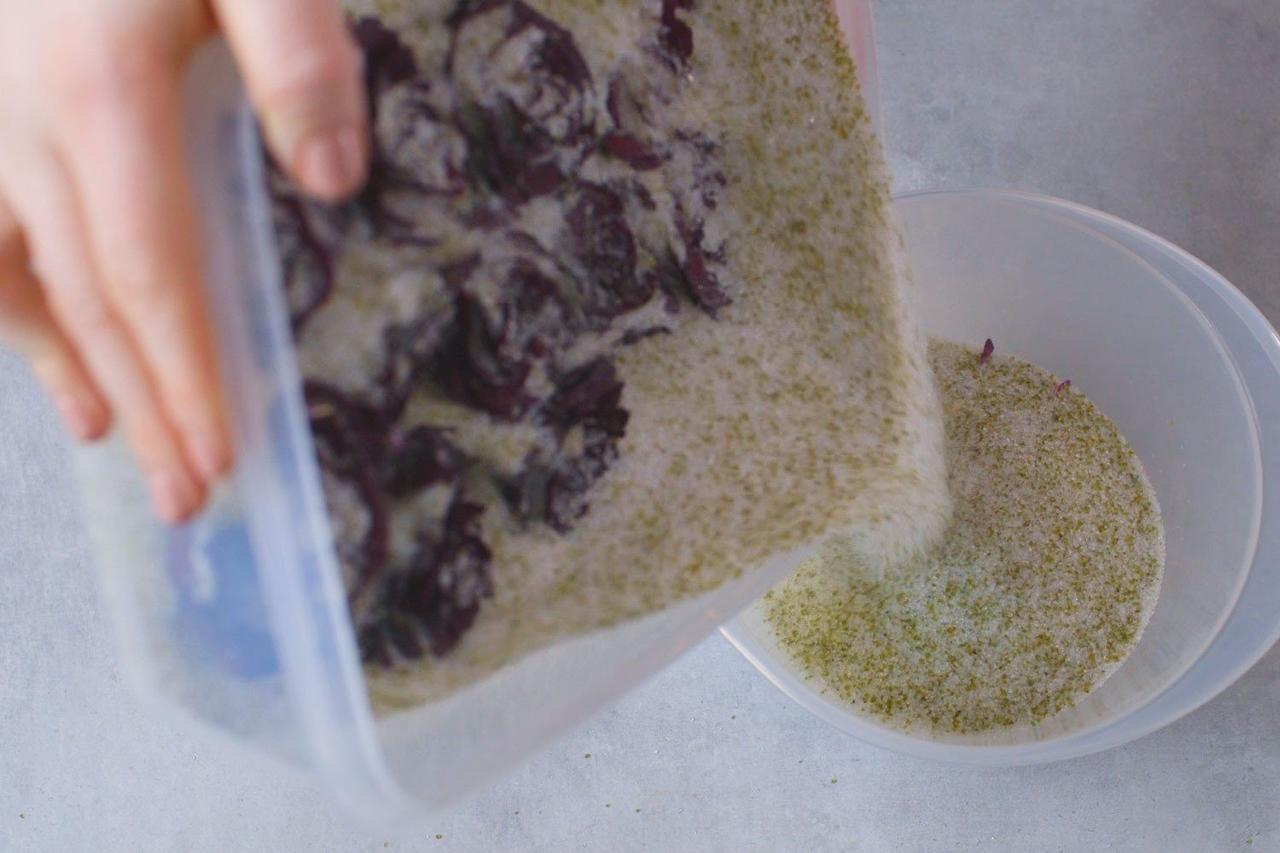
Take the lid off the box and pour off enough silica to expose the flowers.
Step Six
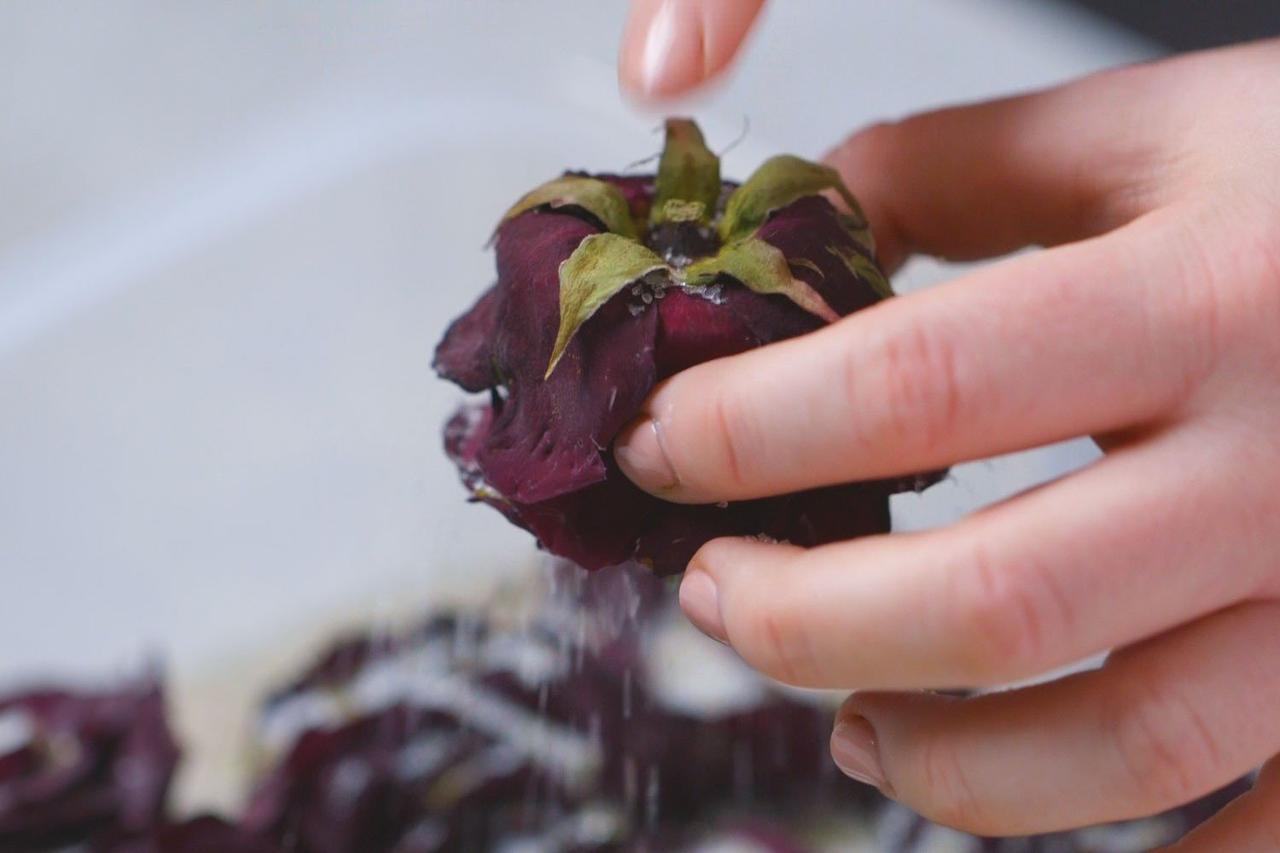
Gently remove each flower and shake off the excess silica gel. Your bouquet is now ready to frame.
Tip: If you’re not using your flowers immediately, store them in an air-tight container with a thin layer of fresh silica gel underneath.
How to Frame Your Wedding Flowers
Step One
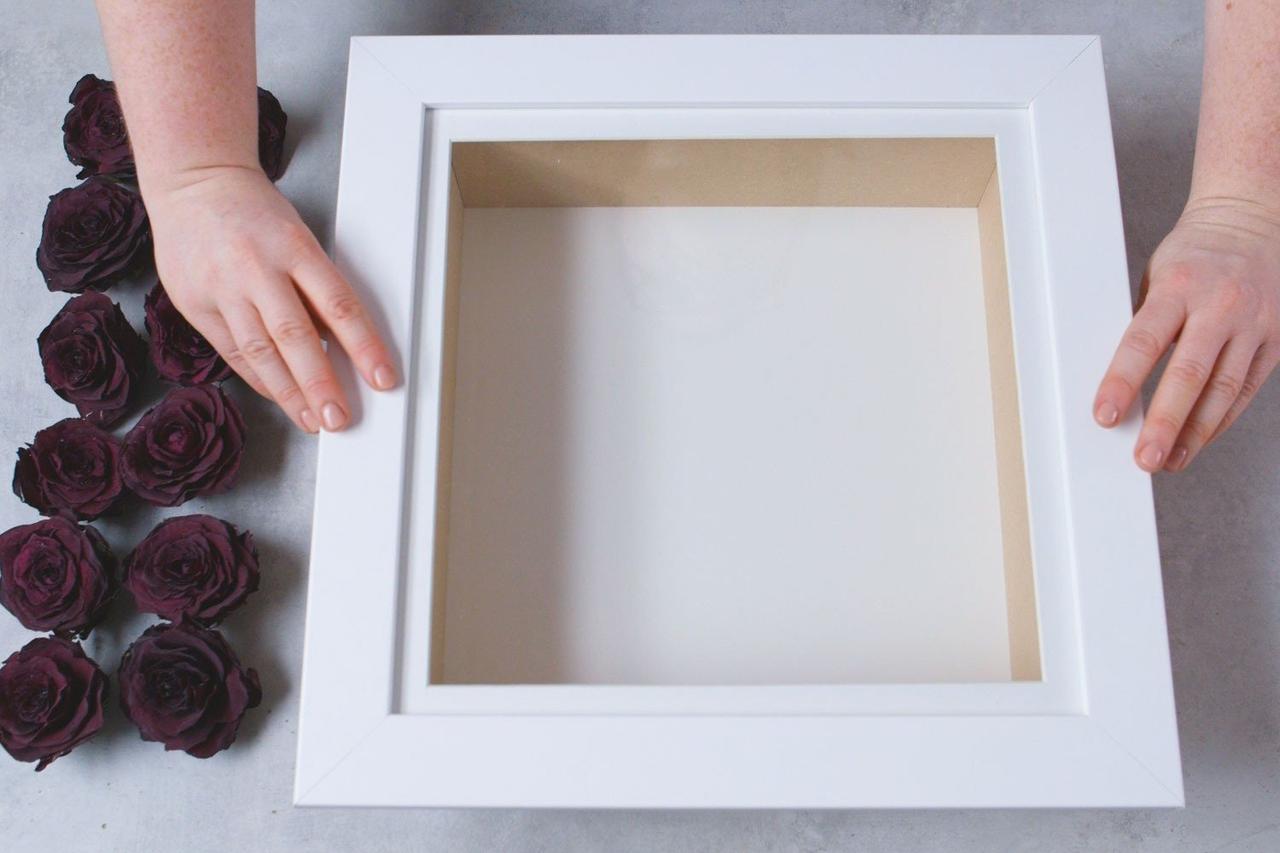
Take a shadow box and cut down a piece of backing card to the same dimensions.
Step Two
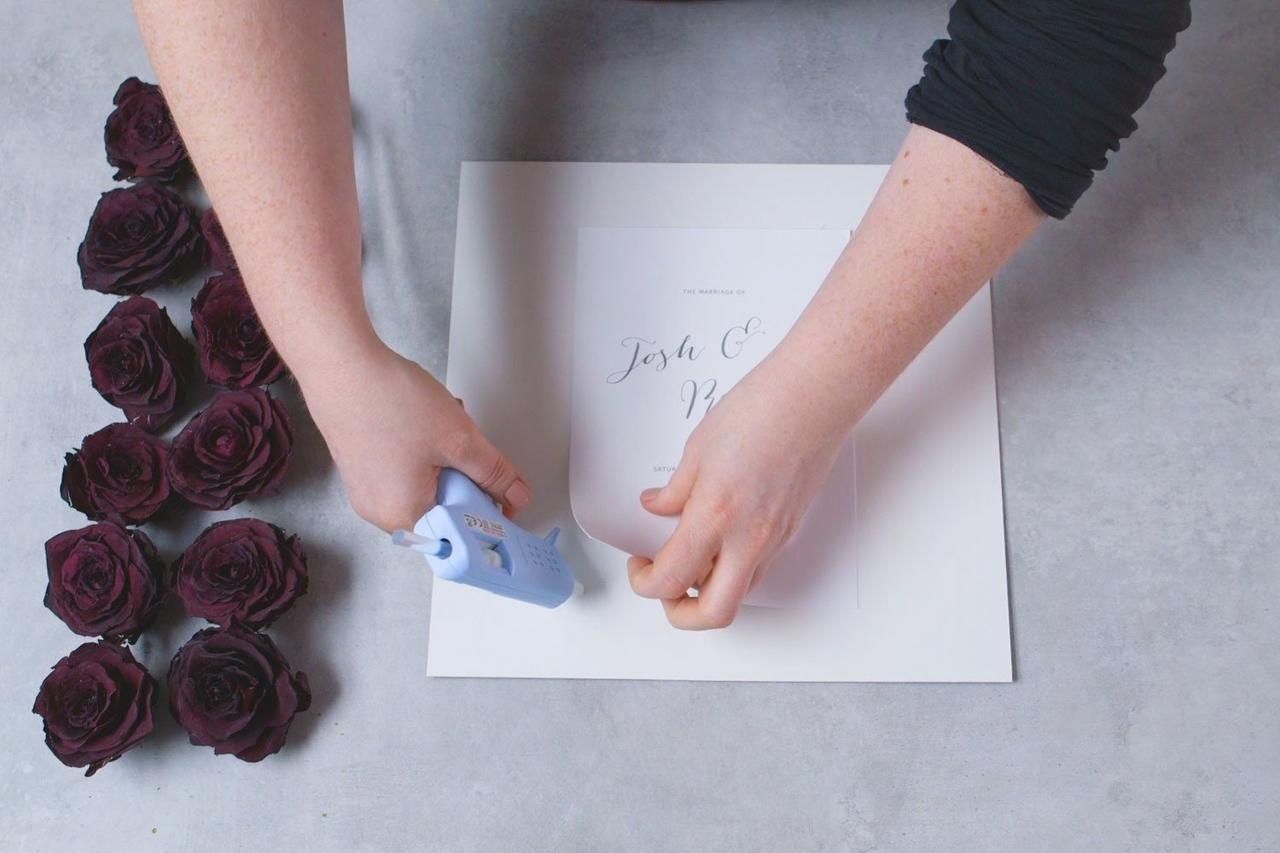
Decide on your preferred arrangement. There’s lots of different beautiful ways to display them, here are some of our favourites:
- For a sturdy flower bouquet, like a rose, arrange them upright to fill the entire frame. Stick them down to the backing card with a glue gun, holding down until firmly stuck.
- Form a display around a copy of your wedding invitation, order of service or your wedding photo.
- Take an oasis floral foam pad and stick it into your shadow box. Use floristy wire to make stems of different lengths and build a 3D re-creation of your bouquet. It will look exactly like you’re looking at it from above in the frame.
Step Three
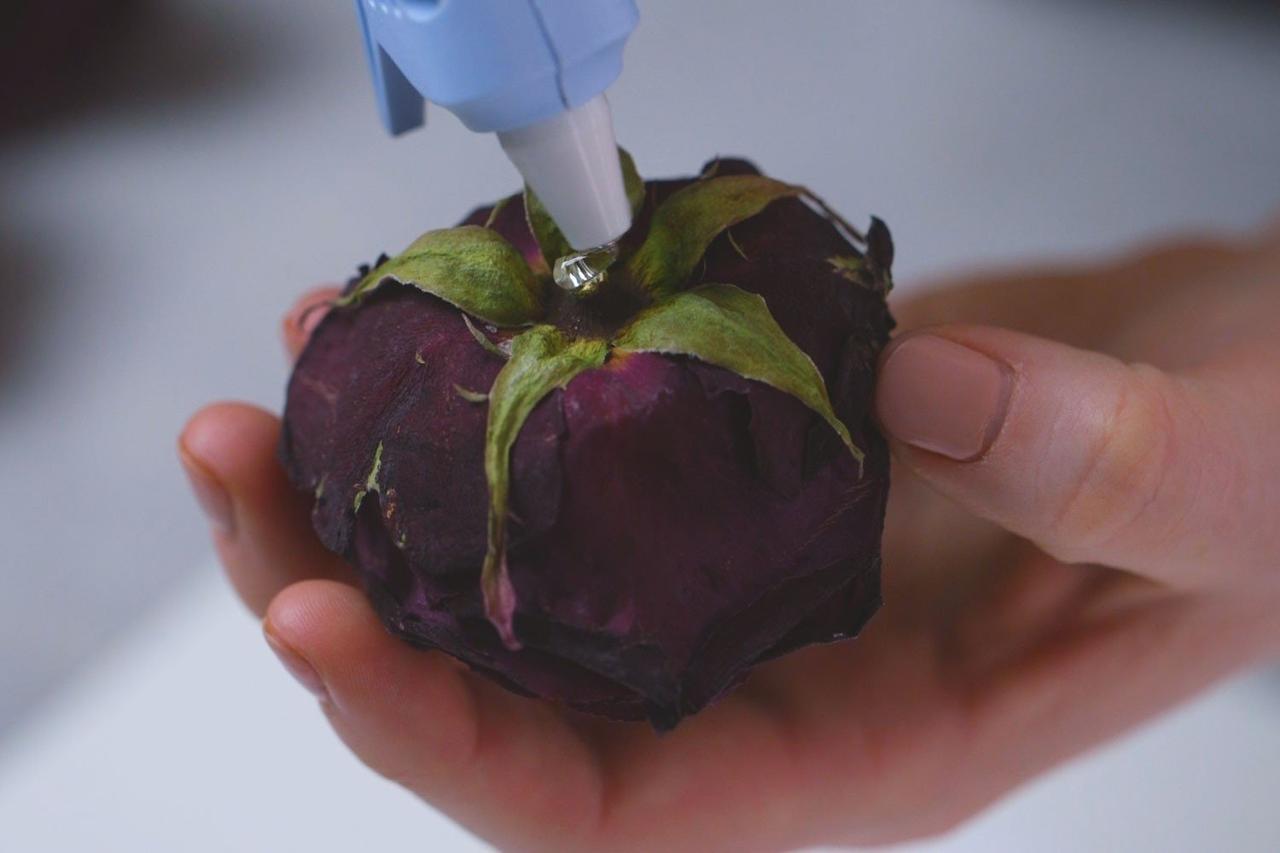
To make a display around your order of service, glue it directly in the middle of your backing card using a glue gun. Arrange and glue down your flowers around the edge of your wedding invite. You could choose to make a full border of flowers or just have a couple in opposite corners.
Step Four
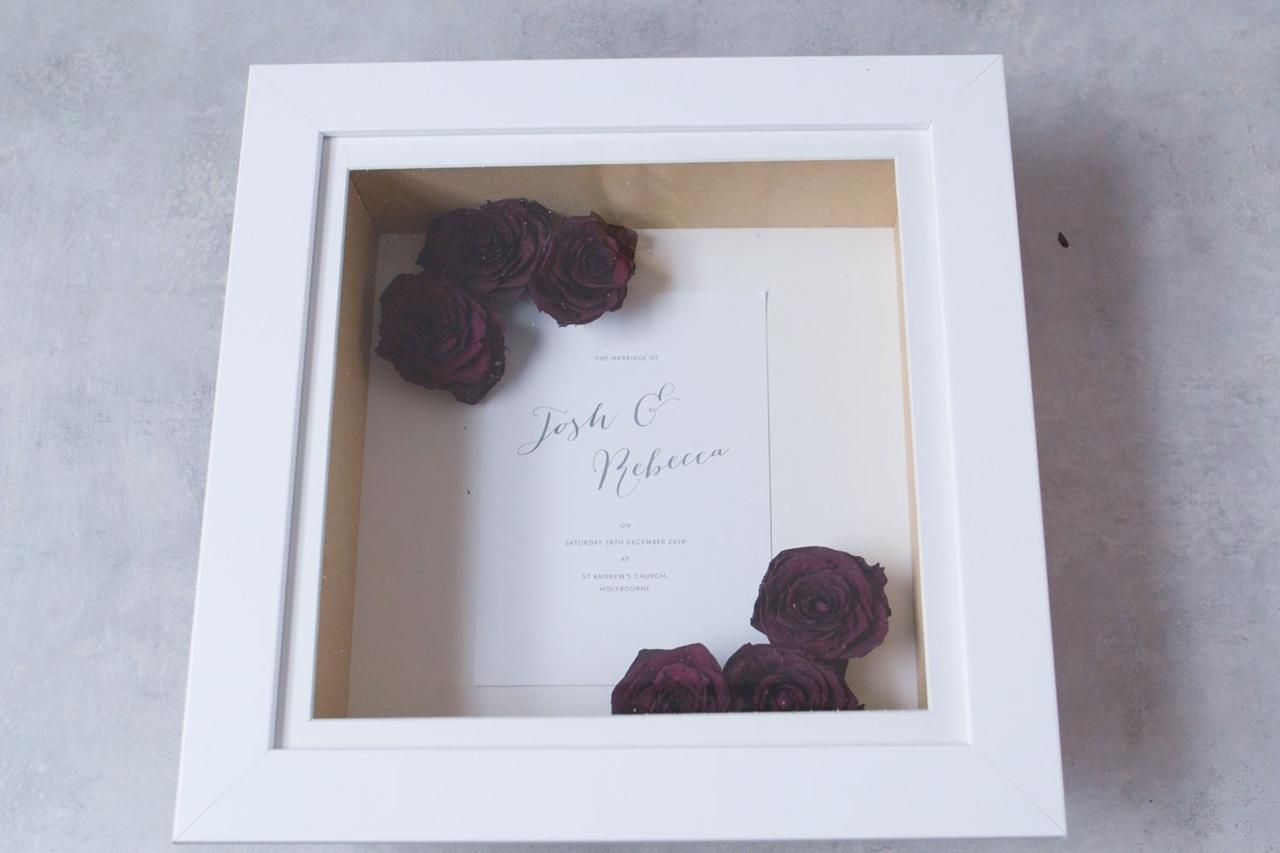
Display away from direct sunlight. Your flowers will last years like this!
If you’re on a budget or love DIY, then make sure you don’t miss our other Hitched Hacks: DIY confetti cones and 3 fun and delicious DIY food wedding favours.
A huge thanks to Bloomsbury Flowers and Florismart for providing the gorgeous bouquet!

